
My wife wanted to get me a fancy coffee roaster ($350) and some green coffee beans for Christmas. I told her to order the beans but not the roaster and I would make my own DIY roaster. So after the kids opened their presents I built a coffee roaster using a flour sifter and heat gun. The stand was made out of some scrap lumber I had laying around. This is not an original design however it does have what I think are two unique features. The first is that the specific flour sifter I used did not need to to be modified to attach to the drill and second is the height adjustability of the heat gun using a scissor jack.
 |
 |
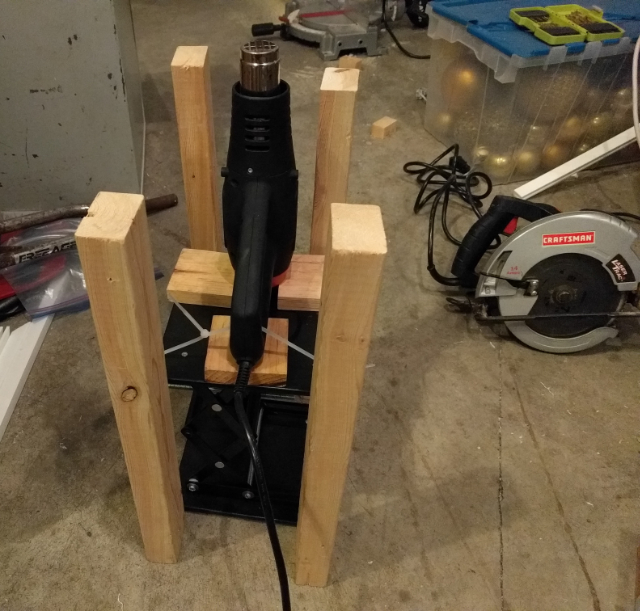
The legs are 2 x 4’s 19″ long and the top is 15″ x 10″ with a 5 3/4″ hole for the flour sifter. I mounted a harbor freight heat gun to a Laboratory Scissor Jack which allows some additional temperature control with the adjustable height.
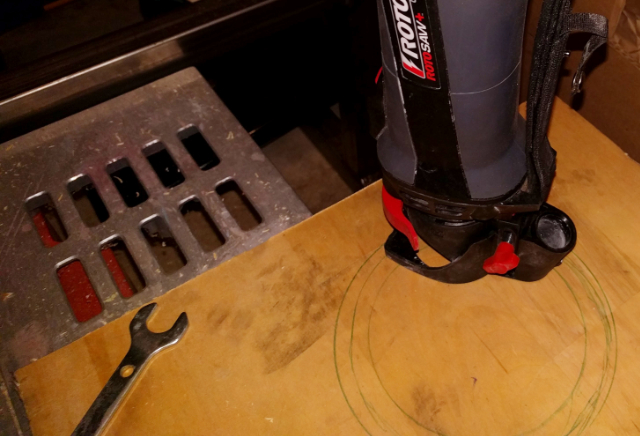
I used a Cook N Home stainless steel 8-cup flour sifter because it has a 5/16 cap nut on the opposite end of the hand crank. I have seen other DIY coffee roasters using other sifters but they required modifications and replacement of the hand crank axle. This sifter does not require any modification.
The 5/16 cap nut allowed a simple way to power the hand crank with a cordless drill and a 5/16 (8mm) nut driver bit. Magnetic nut driver bits won’t work they are not deep enough so I ended up using a non magnetic nut driver bit to turn the cap nut.
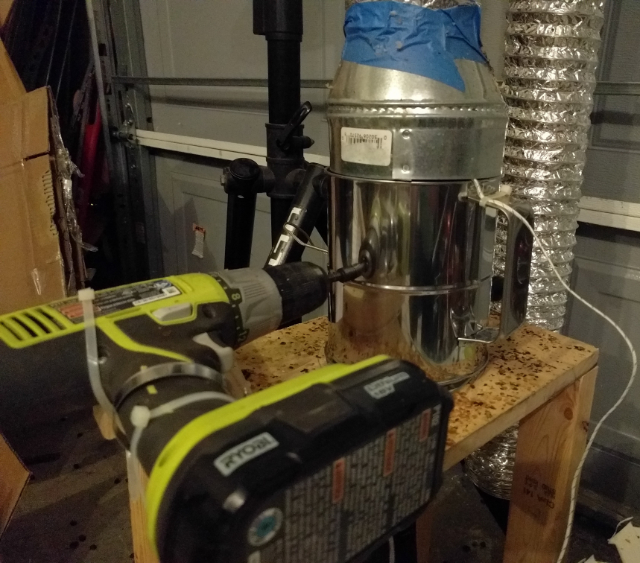
I attached my cordless drill to the stand with a 2×4 and some zip ties raise the height equal to the flour sifter cap nut. To keep the drill running I use a 2.5-Inch key hose clamp with a thumb screw around the trigger.
For the exhaust a 6″ to 4″ HVAC reducer connected to a collapsible dryer hose works fine. On the end of the dryer hose is a 4″ fan to pull out the chaff and fumes.
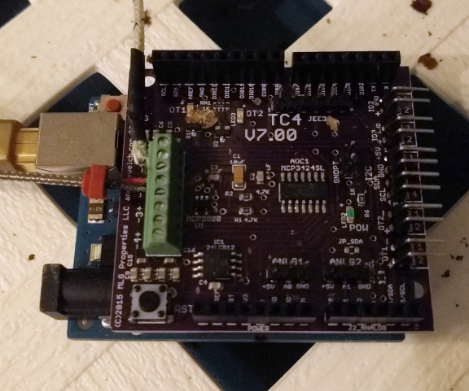
I am running Artisan Roaster Software with the TC4 Arduino shield to log my roast temperatures.
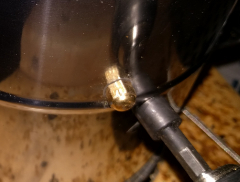
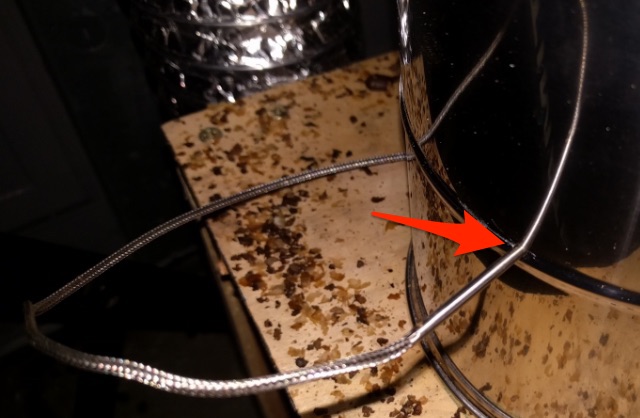
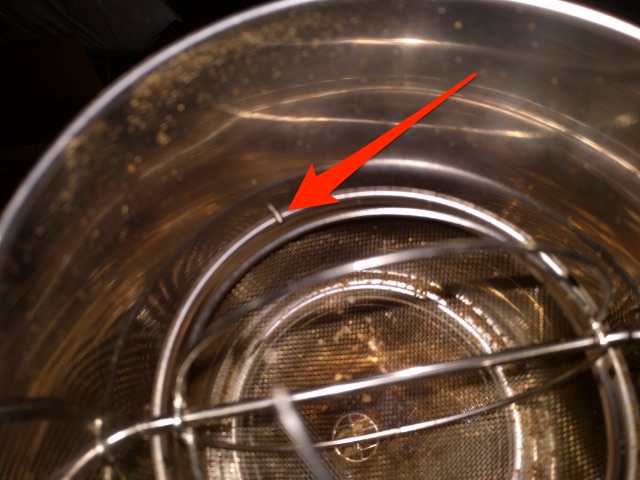
It is a little tricky to measure the bean temperature with the flour sifter but I was able to install one stainless steel thermocouple on the side of the sifter where the bean were thrown. I positioned it just above the center crease of the flour sifter. On the right photo you can just see the tip showing on the inside. The the drill was running clockwise so the mass of the beans were on the left hand side of the sifter right where the thermocouple was mounted
 |
 |
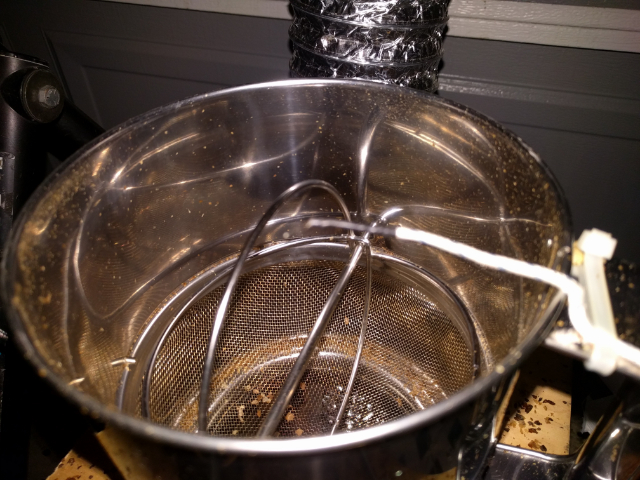
For the environmental temperature measurement a thermocouple was zip-tied over the top of the flour sifter well above the beaters.
First Roast
On my first roast I had the scissor jack fully extended and the heat gun just about touching the flour sifter screen. I ran the heat gun on high for about 5 minutes to warm up the roaster. I added 6 ounces of Sweet Maria’s Bali Bangli Manikliyu. First Crack was at 5 min then I started to see the chaff start to spark. Here is a video of my first roast. I had the heat gun way to close and ended up with a Starbucks dark roast. It’s a good thing nothing caught on fire and with a healthy dose of cream the coffee was drinkable.
Second Roast
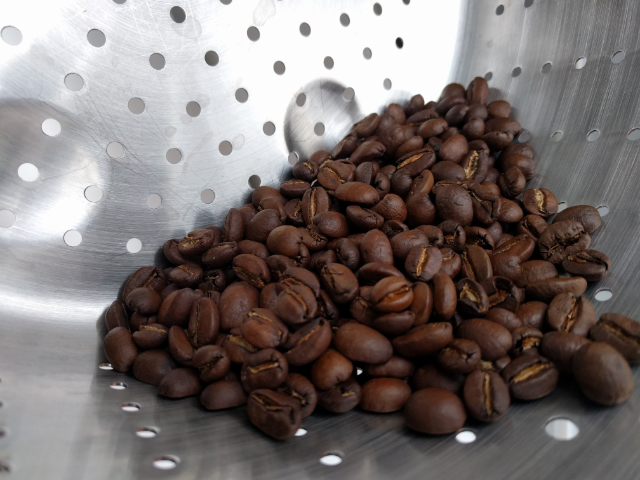
For my second roast I lowered the scissor jack about 4″ and ran the heat gun on low until the beans dried out. Then I turned the heat on high for the rest of the roast. First Crack was at 8 min 45 sec and I did not see any sparks like I had in the first roast. I guess you can say, “second time is the charm”. The coffee was perfectly roasted and I am very happy with my DIY coffee roaster. Here is a photo of my second roast in my cooling colander.
Conclusion
Building the DIY coffee roaster was much quicker then I expected. With everything I needed in hand the build only took about 2 hours and I was able to complete my first roast after returning from Christmas dinner with the family. My first roast was disappointing but it was drinkable. However my second roast confirmed I made the right choice canceling the the $350 home roaster. This DIY coffee roaster was less then $70, roasted some great coffee and was fun to build.
Thanks for the details of your project! How did you connect the heat gun to the flour sifter? Or is it just open-air?
Mark,
I have the heat gun tip about 3″ from the bottom of the sifter screen just in open air. I have the heat gun sitting on a lab scissor jack http://amzn.to/2uD5eIE so I can adjust the hight. To level the heat gun on the jack I have 3 little scraps of wood and some zip ties to hold it down. I am still using my setup once a week and it has held up well. The only maintenance to be done is to clean the heat gun of the chaff.
Hello,
does anyone have any suggestions regarding timing, temp. setting of the gun, the actual heat at the nozzle and actual temp. on the bean? Fan speed and distance play a role as well, I guess. I have multiple temp. settings (120 – 1200°) and fan speeds on that gun.
All profiles available on line are only for drum roasters, so the flour sifter is a completely different environment … I guess?
Thanks
I roast also with a heat gun and a flour sifter. I made a wooden stand with the gun underneath and I turn by hand – I like it to have a manual feel for the speed. My gun is app. 2.5 inches away from the screen but it has various heat settings. The heat settings (e.g. from 120F to 1200F … and I’m using between 600F to 1000F) are of course the settings on the gun and are not the same as the heat just under the beans. I have no thermocouples (yet) but measure bean temp with an infra-red thermometer gun. Works very well and it’s the bean temp that really counts. I have FC at about 8 min and finish around 9.5 min- like light to med roast. To bad I can’t attach images but hope the helps others to roast this way. I roast like this for over a year and think it’s far superior to popcorn poppers – even those commercial 540 and 800 (forgot the name)… and even Behmore etc. since you have the full view and control of your senses instead of following blindly measurements and electronic profiles. Good Luck to all!